DIY Photography Projects to Enhance Your Skills

In today’s digital era, photography has become more accessible than ever before, with cameras embedded in our smartphones and countless online resources available for learning and inspiration. Yet, amidst this abundance, the journey of a photographer is a perpetual quest for improvement and creativity. While formal training and workshops offer valuable insights, there’s a unique charm and learning experience in do-it-yourself (DIY) photography projects. These projects not only enhance technical skills but also foster creativity and resourcefulness.
Benefits of DIY Photography Projects
The allure of DIY photography projects lies not only in their cost-effectiveness but also in the unparalleled opportunity they offer for creativity and personalization. Unlike formal training, which often comes with a hefty price tag, DIY projects require minimal investment, utilizing everyday materials to achieve remarkable results. Moreover, these projects foster a sense of ownership and pride in one’s work, as each creation is a testament to one’s ingenuity and resourcefulness. Beyond the tangible benefits, engaging in DIY photography projects cultivates a mindset of experimentation and innovation, essential qualities for any aspiring photographer seeking to push the boundaries of their craft.
DIY Project 1: Homemade Lightbox
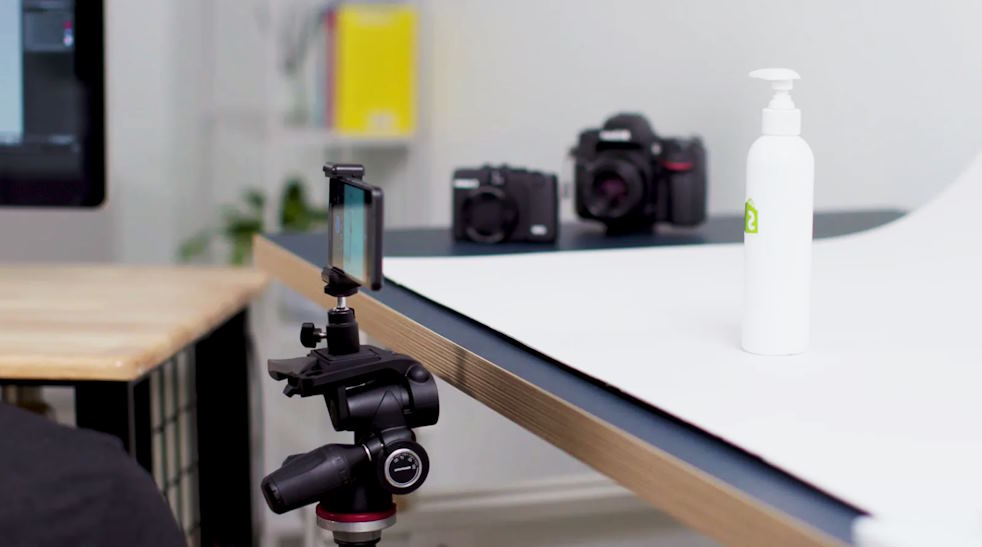
A staple in product photography and macro photography, a lightbox serves as a controlled environment for illuminating subjects evenly and minimizing harsh shadows. While commercial lightboxes are readily available, crafting your own offers a cost-effective alternative without compromising on quality. To construct a homemade lightbox, you’ll need a few basic materials: a cardboard box, tissue paper or translucent fabric, white poster board or foam board, and a light source such as LED lights or desk lamps. Begin by cutting out rectangular openings on three sides of the cardboard box, leaving one side intact as the base. Cover these openings with tissue paper or translucent fabric, securing them in place with tape. Next, attach the white poster board or foam board to the inside of the box, curving it upwards to create a seamless background. Finally, position your light source outside the box, aiming it towards the openings to achieve soft, diffused lighting. With your homemade lightbox ready, experiment with different subjects and lighting setups to hone your skills in product photography and beyond.
DIY Project 2: Lens Filter Hacks
Lens filters are indispensable tools for photographers, allowing for creative manipulation of light and color to achieve desired effects. While professional filters can be costly, DIY alternatives offer a budget-friendly solution without compromising on creativity. Explore the world of lens filter hacks by experimenting with everyday materials to achieve unique results. For instance, a piece of colored cellophane can mimic the effects of a color filter, altering the mood and tone of your images with ease. Similarly, experimenting with textured materials such as nylon stockings or bubble wrap can create captivating bokeh effects, adding depth and dimension to your photographs. The key lies in embracing experimentation and embracing imperfection, as each DIY filter presents a new opportunity for creative expression.
DIY Project 3: Pinhole Camera Construction
Delve into the roots of photography with a DIY pinhole camera, harkening back to the simplicity and elegance of early photographic techniques. Originating from the ancient principle of camera obscura, a pinhole camera captures images through a tiny aperture, resulting in ethereal, dreamlike photographs. To construct your own pinhole camera, you’ll need a lightproof container such as a shoebox or tin can, a piece of aluminum foil, and a needle or pin for creating the pinhole. Begin by cutting a small square opening on one side of the container, ensuring it is lightproof by covering it with aluminum foil. Next, carefully pierce a tiny hole in the center of the foil using the needle or pin, taking care to make it as small and precise as possible. With your pinhole camera assembled, load it with photosensitive paper or film, and venture into the world to capture scenes with a unique perspective. Embrace the imperfections and unpredictability of pinhole photography, as each image tells a story steeped in nostalgia and wonder.